Devices e-NABLE volunteers make

These are free, open-source designs from the e-NABLE community. You don't need to pick one to make a request: your volunteer will help you choose.
Which design is right?

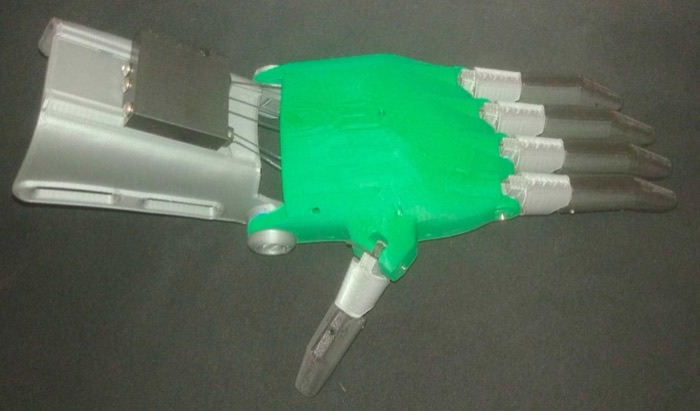
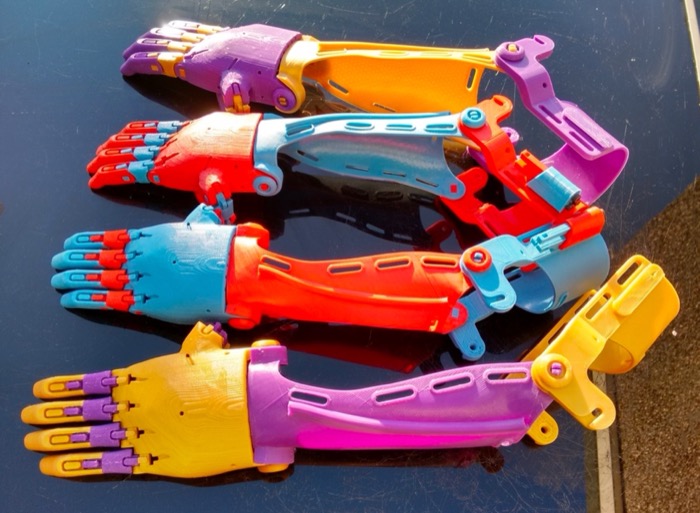
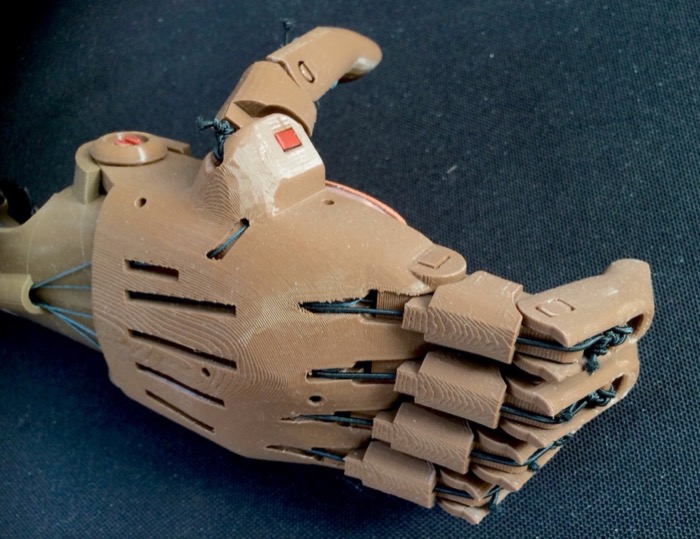
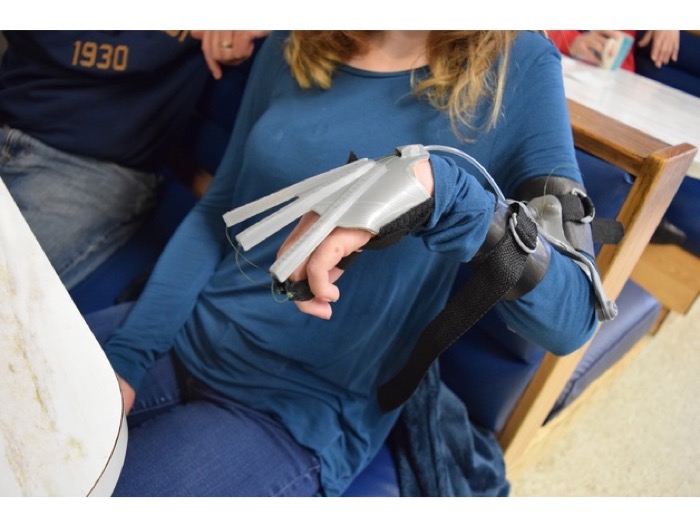
It mostly depends on which joint can do the work. e-NABLE hands and arms are body-powered: bending the wrist or elbow pulls cords that close the fingers.

Fingers and everyday activities

Missing part of a finger, or need help with one activity like cycling, music, or eating?

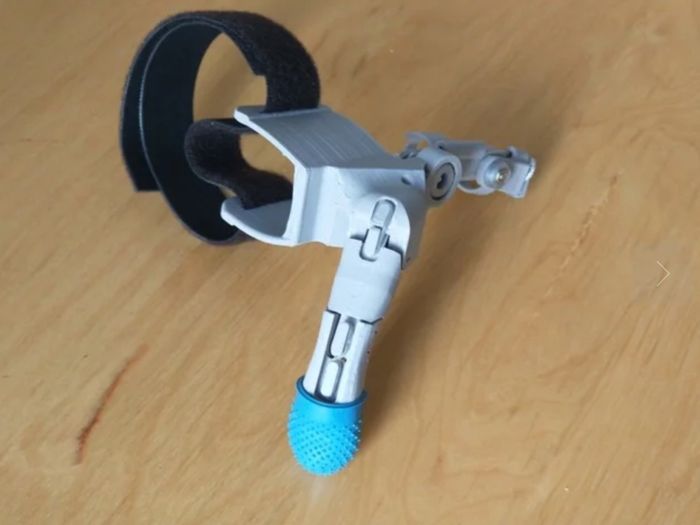
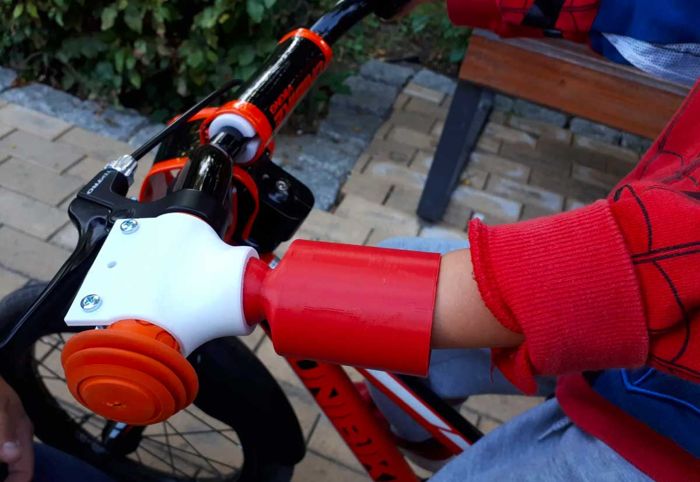
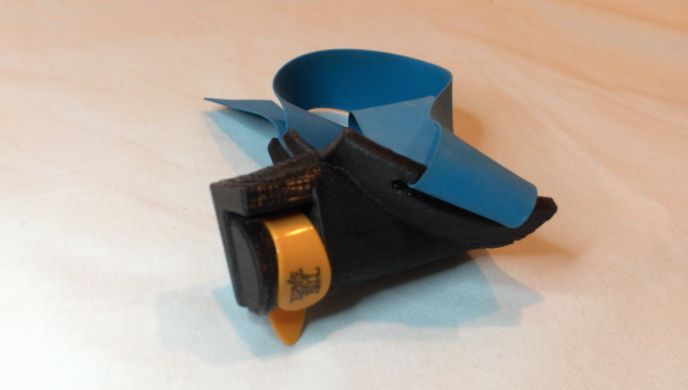
There are mechanical fingers, plus simple tools such as bike handle adapters, guitar pick holders, and utensil cuffs.

Still not sure? That's fine: leave it to your volunteer, or ask the friendly designers on the e-NABLE Community Forum.

Hand (wrist-powered)

Typical time: 2–4 weeks of part-time work

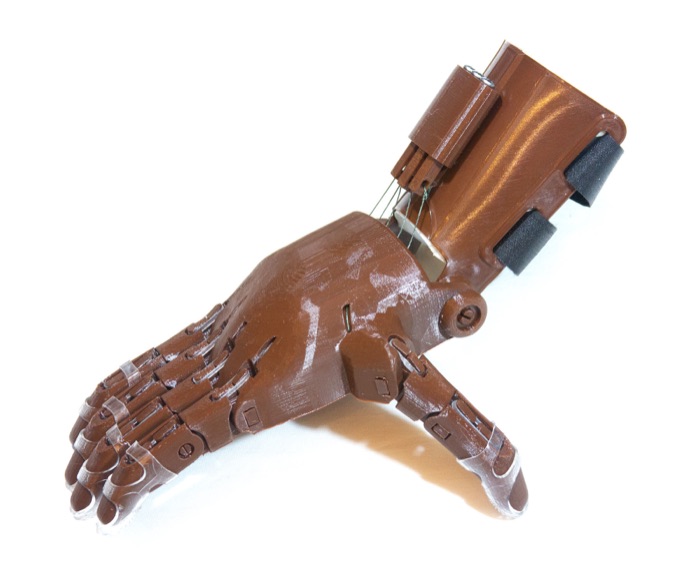
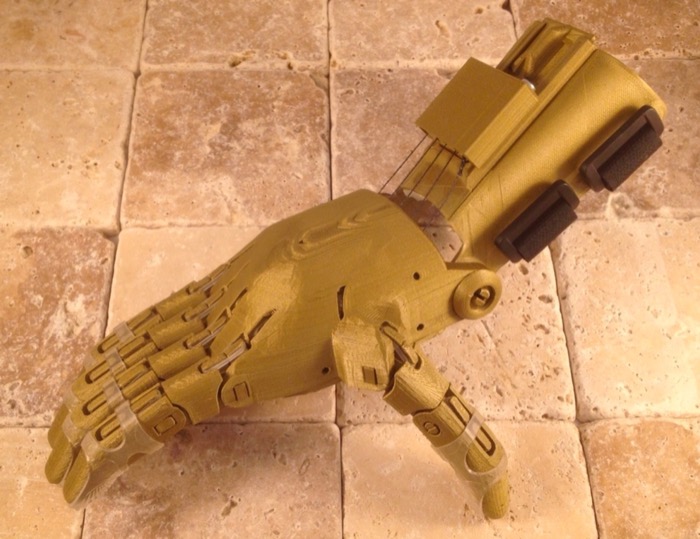
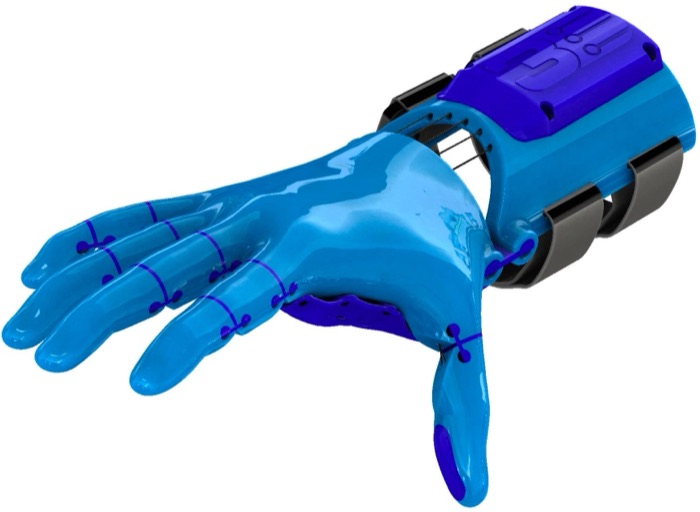
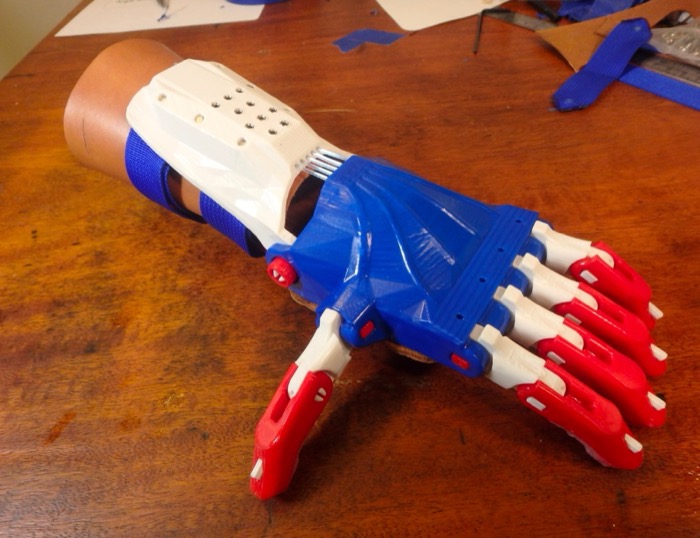
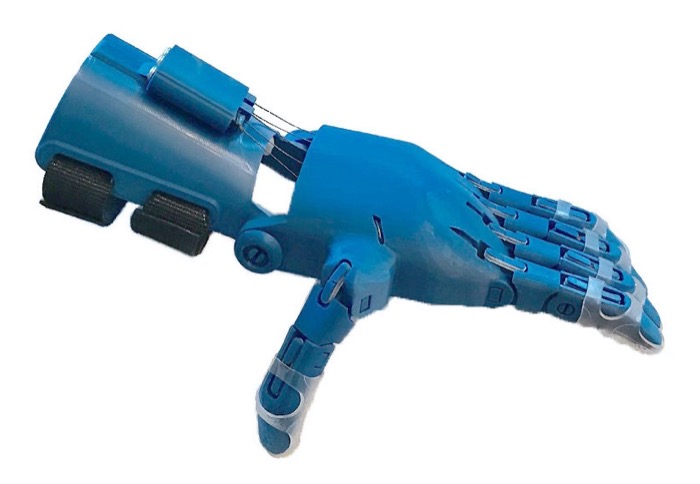
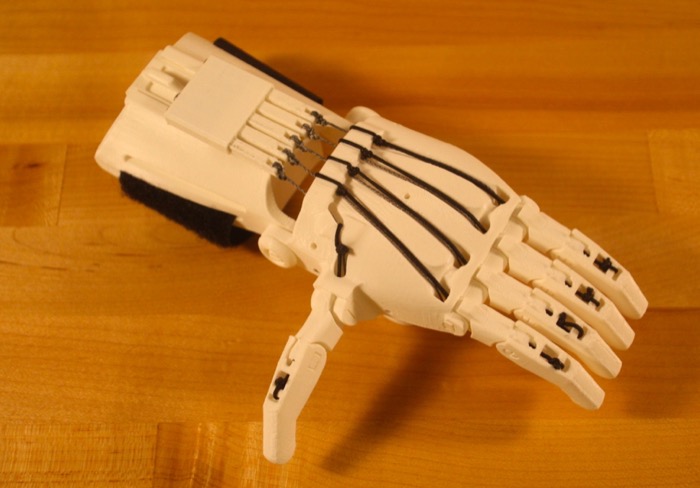
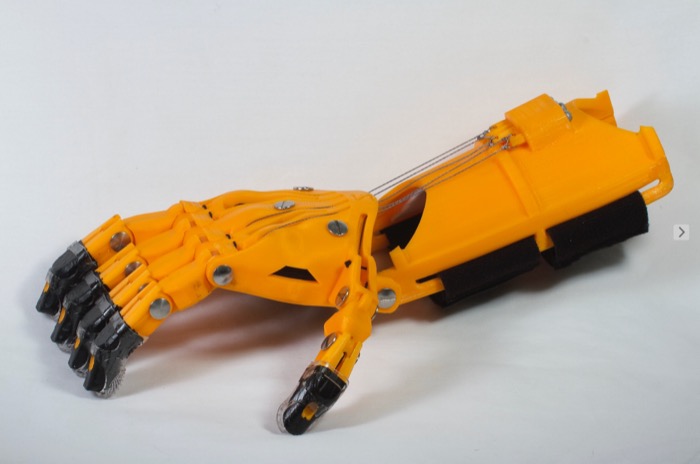
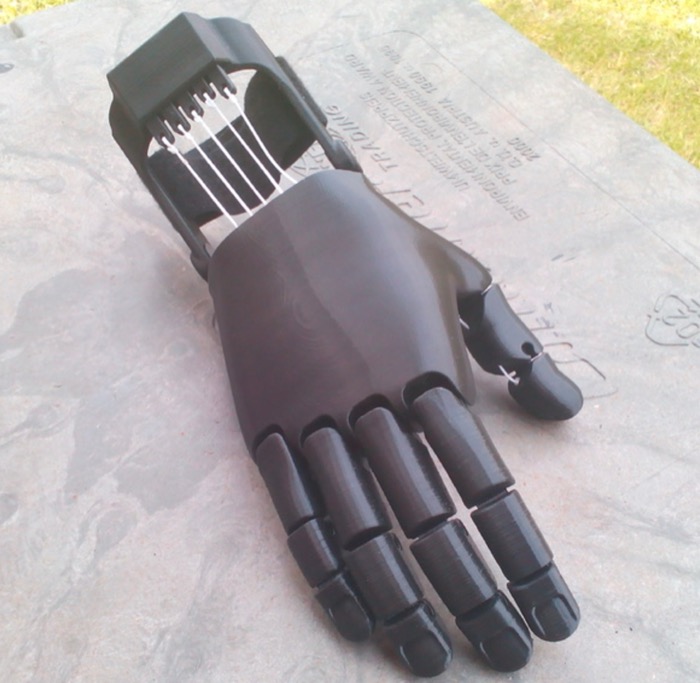
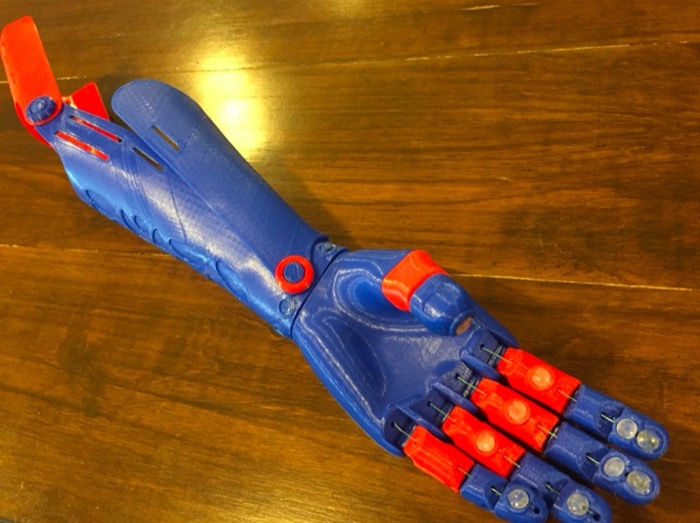
People missing some or all fingers who have most of their palm and a wrist that can bend at least 30 degrees. Bending the wrist closes the fingers of the device.

e-NABLE Phoenix Hand v3
e-NABLE Phoenix Hand v3 RecommendedBeginner-friendly
Current flagship wrist-powered hand; snap-pin assembly, easy to print.
Volunteer notes

Good: The currently recommended design. Snap pins are labeled for easier assembly.

Watch out: The plastic mesh palm has to be heat-formed into a curve. As with the Phoenix v2, the palm-to-gauntlet angle should be 30–35°.

Assembly tips: Probably the easiest design for beginners to print and assemble. Simple, high-profile elastic bands straighten the fingers; watch that loose finger joints don't trap the elastic and stop the fingers returning.

Files and instructions →
Phoenix v2 Hand
Phoenix v2 Hand RecommendedBeginner-friendly
Popular, well-documented wrist-powered hand.
Volunteer notes

Good: A solid design. Printed at about 120%, it suits a large child or small adult.

Watch out: The whippletree is a little more complex.

Assembly tips: Keep the palm-to-gauntlet angle at 30–35° while stringing and tensioning; balancing the angle and three strings takes some practice at first.

Files and instructions →
Kinetic Hand
Kinetic Hand RecommendedIntermediate
Wrist-powered hand designed for partial-hand differences.
Volunteer notes

Good: A beautiful design modeled on real human anatomy, with extensive, high-quality documentation for preparing, printing, and assembling.

Watch out: Needs flexible filament, which not every printer handles. The flexible hinges work less well at larger sizes (heavier fingers), and the flexible palm and tensioners reduce grip efficiency.

Assembly tips: The flexible parts are the tricky bit: a direct-drive extruder helps a lot when printing them, and the hinges can be hard to insert into the finger slots.

Files and instructions →
Osprey Hand
Osprey Hand RecommendedIntermediate
Wrist-powered hand with a strong grip.
Volunteer notes

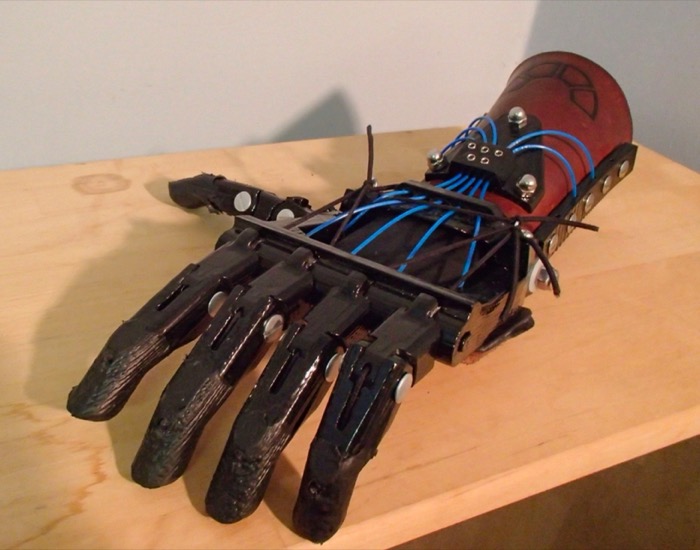
Good: Strong plastic Bowden cables replace separate tendons and straighteners. The most fluid action of all the designs.

Watch out: The leather gauntlet and palm add cost and complexity.

Assembly tips: Ten small set screws add complexity, and the instructions don't say exactly how far to tighten and tension them, so expect some trial and error.

Files and instructions →
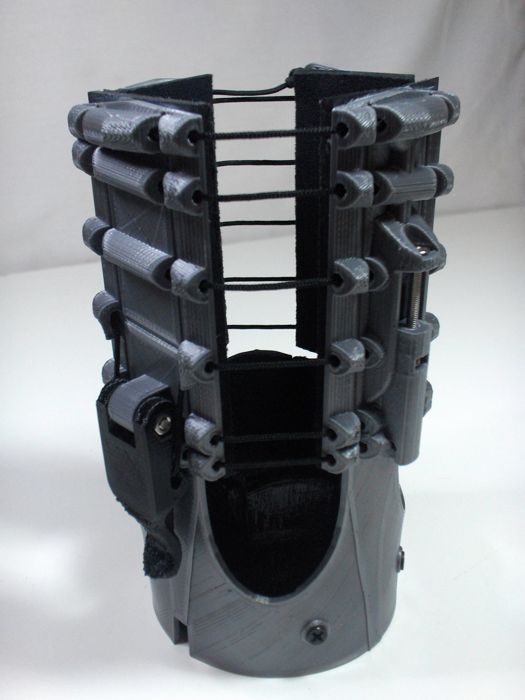
Unlimbited Phoenix Hand
Unlimbited Phoenix Hand RecommendedIntermediate
Customizable Phoenix variant sized from measurements.
Volunteer notes

Good: A solid design; three tensioners make assembly easier. Smooth action, similar to the Osprey.

Watch out: The plastic mesh palm has to be heat-formed into a curve, and the palm-to-gauntlet angle should be 30–35°.

Assembly tips: One of the easiest designs for beginners. Watch that loose finger joints don't trap the elastic bands.
Files and instructions →
Raptor Reloaded
Raptor Reloaded Beginner-friendly
Classic, beginner-friendly wrist-powered hand.
Volunteer notes

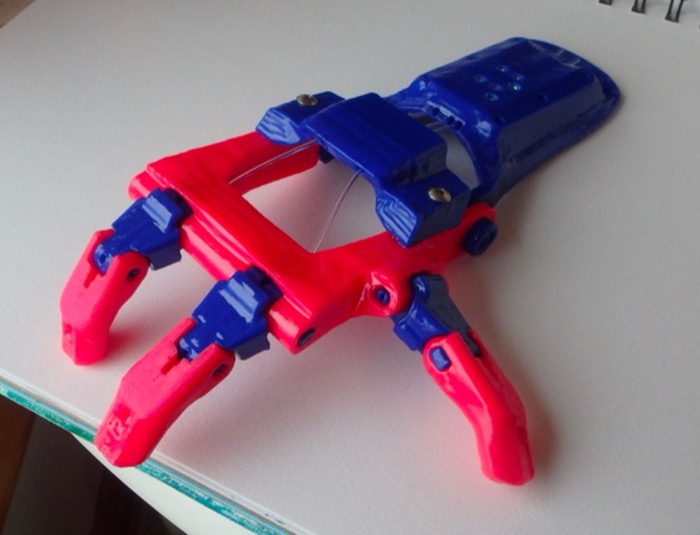
Good: Very small at 100% scale, so good for small children.

Watch out: Elastic and line share the same palm holes, and the small size makes assembly harder.

Assembly tips: At 100%, only thin elastic fits the palm holes, which limits how strongly the fingers return. Five fingers to tension individually.

Files and instructions →
Cyborg Beast
Cyborg Beast Intermediate
Classic wrist-powered hand.
Volunteer notes

Good: Popular, especially with children. Printed finger bumps help grip without needing grip tips.

Watch out: Uses Chicago bolts, and each of the five fingers has to be tensioned separately.

Assembly tips: The Chicago bolts stick out, especially at the gauntlet strap, and can get in the way of the outer two tensioners. Tensioning five fingers individually is fiddly.

Files and instructions →
Flexy-Hand 2
Flexy-Hand 2 Intermediate
Wrist-powered hand with flexible printed joints.
Volunteer notes

Good: An appealing, natural-looking design. Flexible hinges replace separate elastic tendons.

Watch out: Finger return is weak, particularly at larger sizes, and grip strength is low.

Assembly tips: The flexible hinges are hard to fit into the fingers and may need trimming. Even at 100% infill they return weakly at larger sizes. Five fingers to tension individually, and the gauntlet's high arch makes thermoforming tricky.

Files and instructions →
Talon
Talon Intermediate
Wrist-powered hand.
Files and instructions →
K1 Hand
K1 Hand Intermediate
Wrist-powered hand.
Volunteer notes

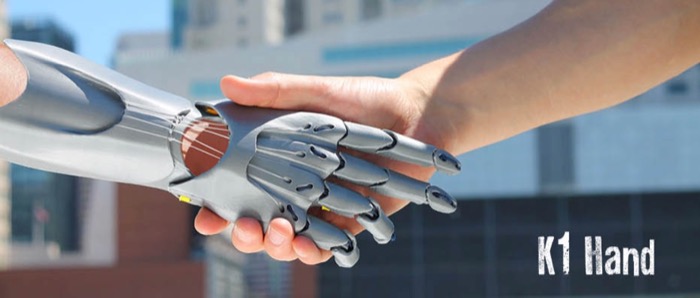
Good: A sleek, natural-looking hand with easy finger action. Fingers are printed with built-in joints, so no extra pins are needed.

Watch out: Pins and the gauntlet-to-palm fit are loose, and the finger hinge supports on the palm are thin and fragile.

Assembly tips: Printing the large palm and gauntlet upright can cause problems. Small palm holes limit you to lightweight elastic, and the fragile hinges limit grip strength. Further engineering is needed.

Files and instructions →
Ody Hand
Ody Hand Intermediate
Wrist-powered hand.
Files and instructions →
Forefinger Gripper Hand
Forefinger Gripper Hand Intermediate
Gripper for partial-hand differences.
Files and instructions →
The Paraglider
The Paraglider Intermediate
Wrist-powered hand.
Files and instructions →

Arm (elbow-powered, below the elbow)

Typical time: 3–6 weeks of part-time work

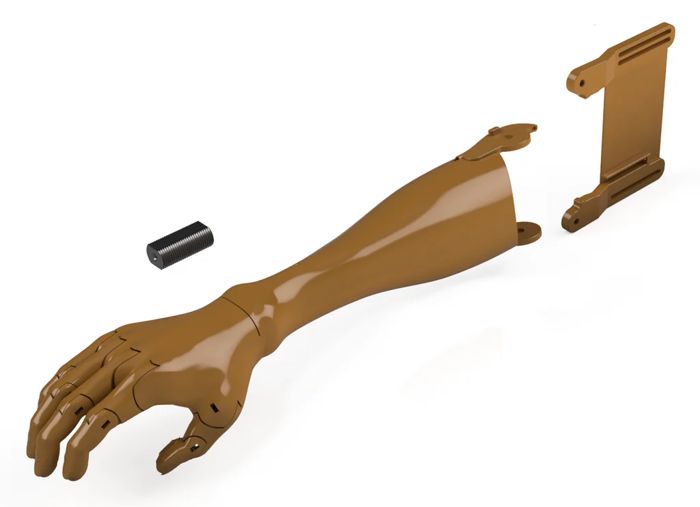
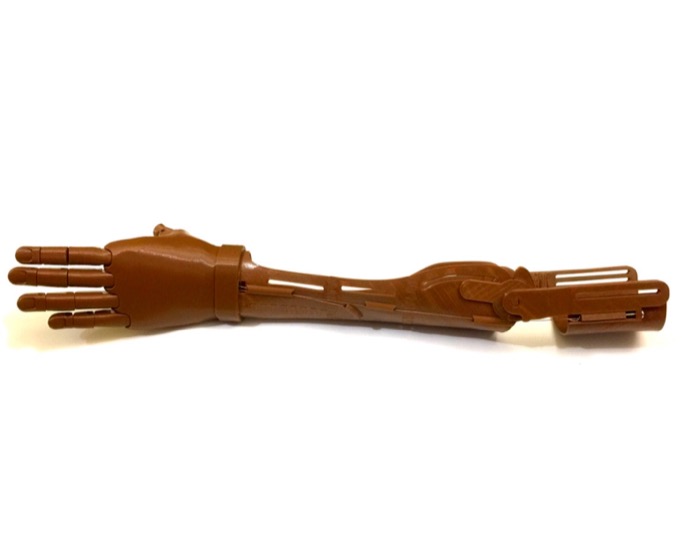
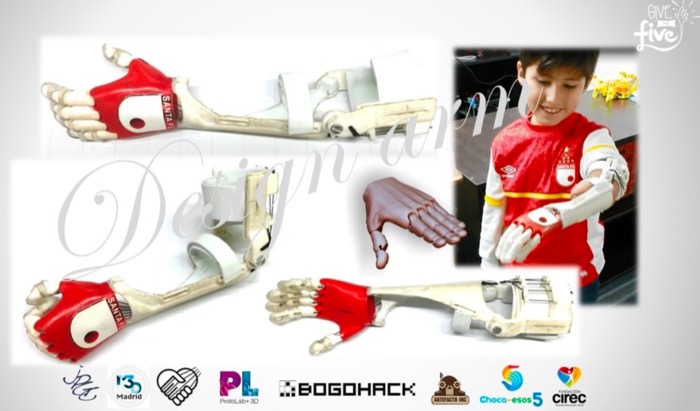
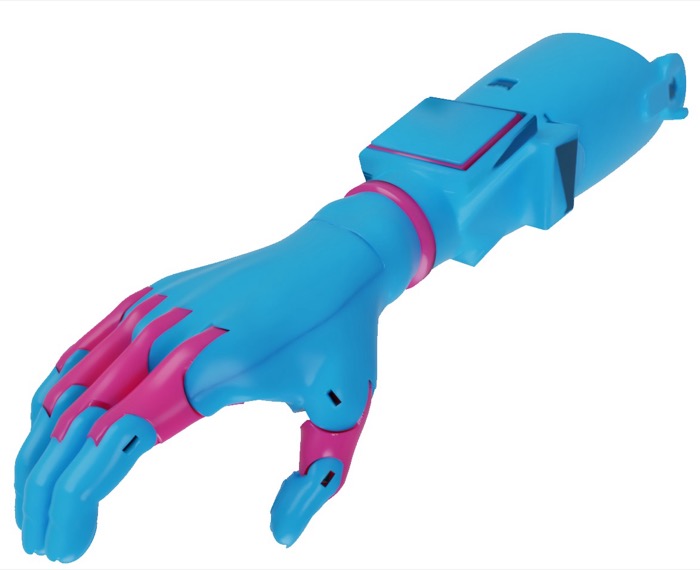
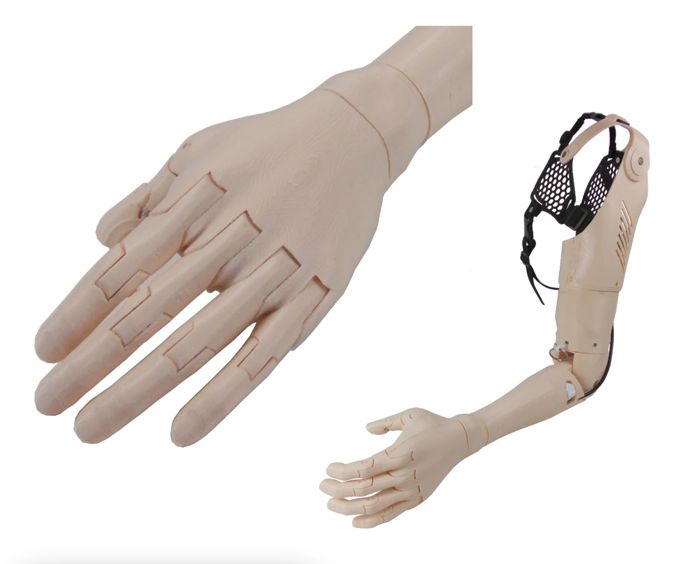
People whose arm ends at the wrist or below the elbow and who can bend the elbow easily. Bending the elbow closes the hand of the device.

Unlimbited Arm v2.1
Unlimbited Arm v2.1 RecommendedIntermediate
The go-to elbow-powered arm, sized with an online customizer.
Volunteer notes

Good: A good design with straightforward hand assembly and tensioning (the same hand as the Unlimbited version).

Watch out: Thermoforming the forearm makes assembly harder.

Assembly tips: The forearm is formed in two directions (round for the arm, and rotated 90° for the hand), which can take several attempts. The end of the forearm also needs to be pressed in with heat so the strings reach the palm smoothly.

Files and instructions →
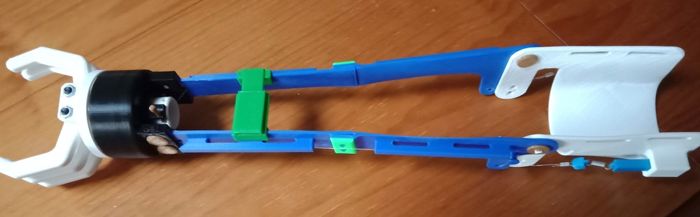
Gripper-Kwawu (long forearm)
Gripper-Kwawu (long forearm) RecommendedIntermediate
Elbow-powered gripper arm for longer residual forearms.
Files and instructions →
Gripper-Kwawu (short forearm)
Gripper-Kwawu (short forearm) RecommendedIntermediate
Elbow-powered gripper arm for shorter residual forearms.
Files and instructions →
Kwawu Arm
Kwawu Arm Advanced
Thermoformed elbow-powered arm.
Volunteer notes

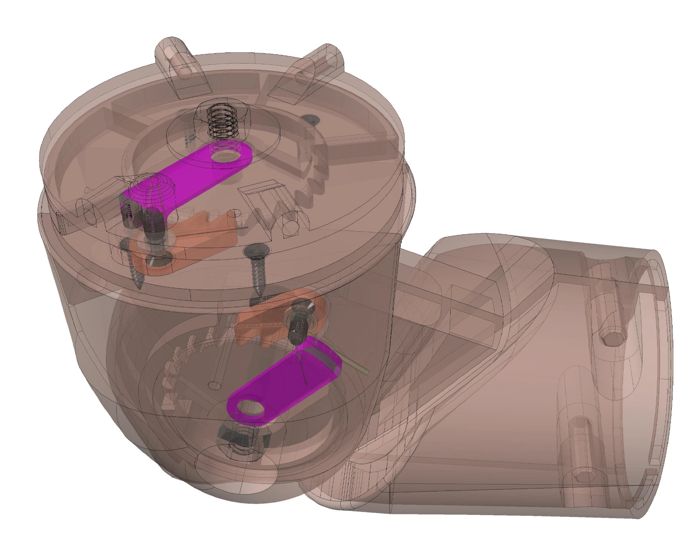
Good: A beautiful, natural-looking arm. The socket version has an adaptable grip and a rotating hand.

Watch out: Large adult sizes must be printed in segments and welded or glued. The flexible hinges struggle to return the fingers at large sizes, and stringing two whippletrees is complex.

Assembly tips: Probably the hardest design to assemble: small blind holes in the fingertips are difficult to string, and parts may need shaving to move smoothly. Not recommended above 100% hand size.

Files and instructions →
Flexy Arm
Flexy Arm Intermediate
Elbow-powered arm.
Files and instructions →
Po Arm
Po Arm Intermediate
Elbow-powered arm.
Files and instructions →
Phoenix Reborn Arm
Phoenix Reborn Arm Intermediate
Elbow-powered arm based on the Phoenix hand.
Files and instructions →
El Medallo Bionic Arm
El Medallo Bionic Arm Advanced
Elbow-powered arm.
Files and instructions →
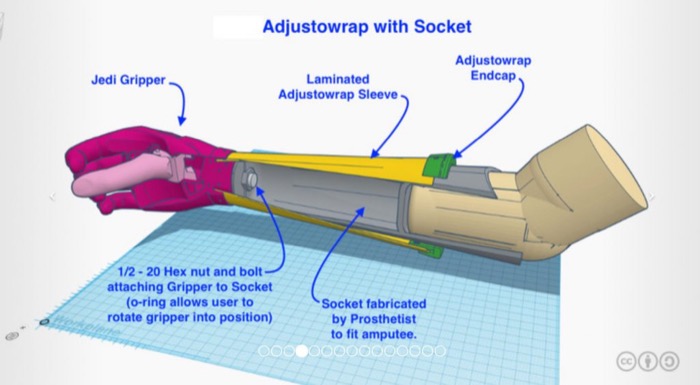
Adjustowrap Gripper Arm
Adjustowrap Gripper Arm Intermediate
Adjustable gripper arm.
Files and instructions →
Versatile Elbow Operated Gripper (VEOG)
Versatile Elbow Operated Gripper (VEOG) Advanced
Elbow-operated gripper.
Files and instructions →

Finger

Typical time: 1–3 weeks of part-time work

People missing part of one or more fingers who would like a mechanical finger that moves with the remaining joint.

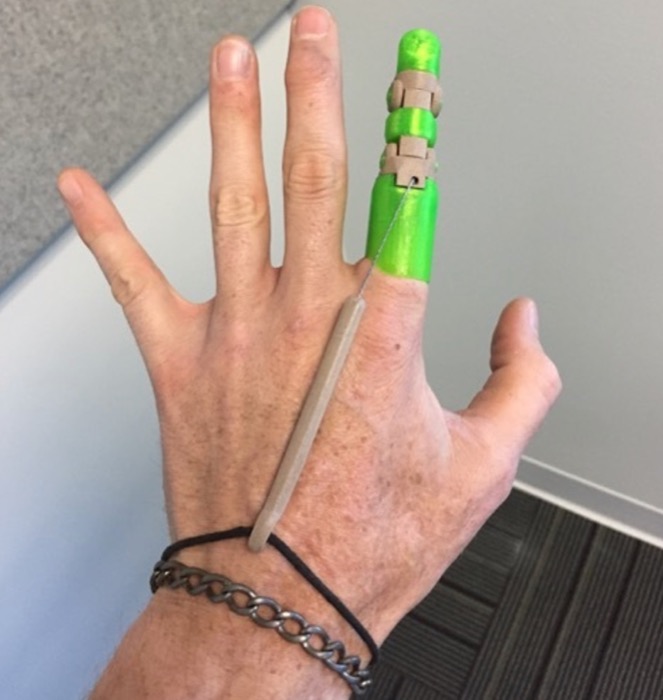
Knick Finger
Knick Finger Intermediate
Mechanical finger that moves with the remaining joint.
Files and instructions →
Flex Finger
Flex Finger Intermediate
Mechanical finger.
Files and instructions →

Arm (above the elbow)

Typical time: 6+ weeks; plan for several fittings

People whose arm ends above the elbow. e-NABLE designs for this are a work in progress (e.g. NIOP modules, Shelbow), so these requests are best suited to experienced volunteers.
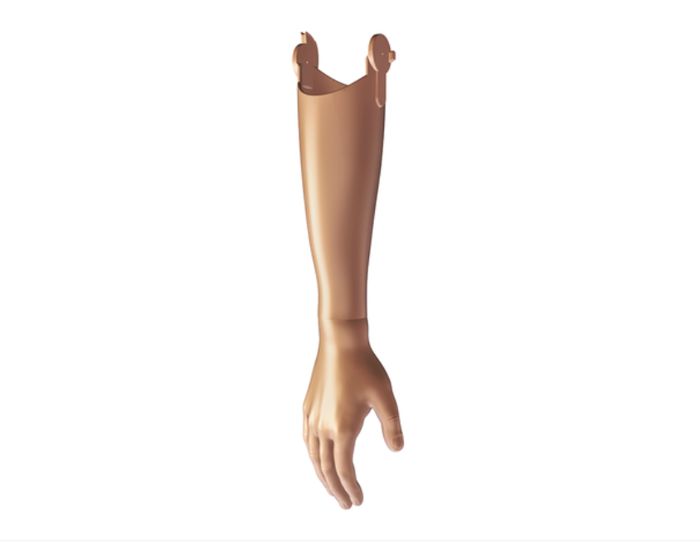
NIOP Modules
NIOP Modules Advanced
Modular system including above-elbow options.
Files and instructions →
Shelbow 2.0
Shelbow 2.0 Advanced
Above-elbow device.
Files and instructions →

Activity tool or other assistive device

Typical time: 1–3 weeks of part-time work

People who need help with a particular activity, such as holding handlebars, a guitar pick, or utensils, or who need a gripping aid or another assistive device.

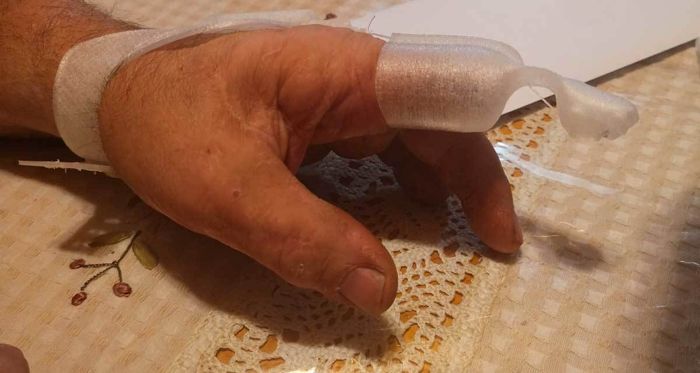
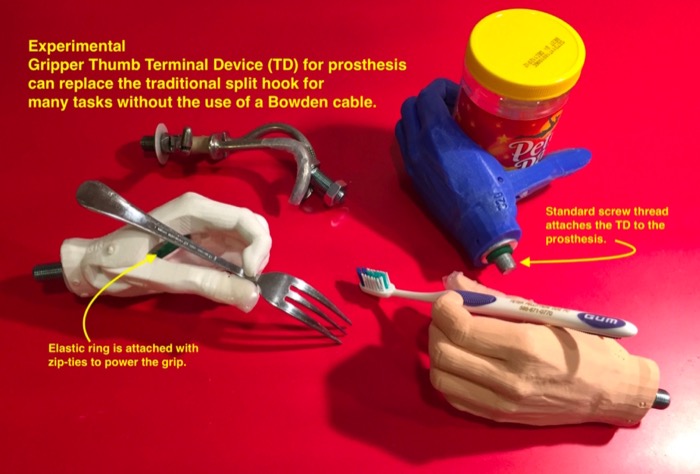
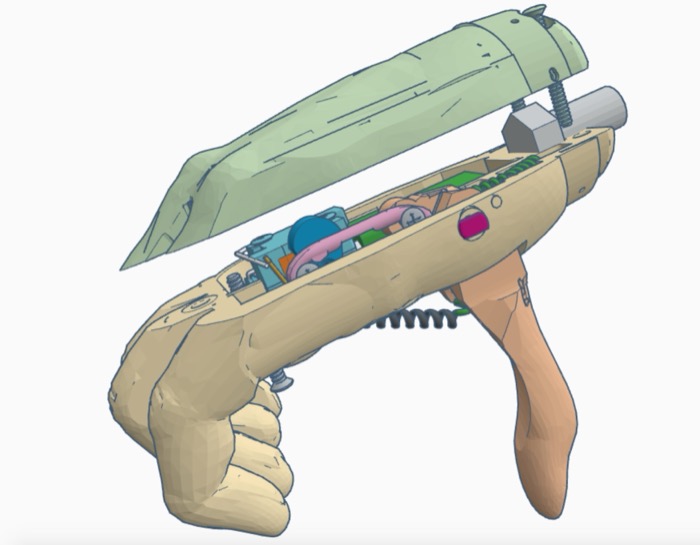
Gripper Thumb Terminal Device
Gripper Thumb Terminal Device Intermediate
Terminal device for gripping.
Volunteer notes

Good: Very simple: only two parts. The grip is very strong thanks to a strong elastic band as the thumb tensor.

Watch out: The large hand needs supports and is hard to print cleanly. The cable ties must be strong but have small enough buckles to sit in the palm recess.

Assembly tips: A good device for someone with one fully working arm, who can open and close the thumb by hand.

Files and instructions →
MotoGripper Terminal Device
MotoGripper Terminal Device Intermediate
Gripping terminal device.
Files and instructions →
Lobster Thumb
Lobster Thumb Intermediate
Gripping aid.
Files and instructions →
Frog Arm (exoskeleton)
Frog Arm (exoskeleton) Advanced
Exoskeleton device for weak arm or hand function.
Files and instructions →
Bike Handle Adapter
Bike Handle Adapter Beginner-friendly
Helps hold bicycle handlebars.
Files and instructions →
Guitar Pick Adapter (Salvation)
Guitar Pick Adapter (Salvation) Beginner-friendly
Holds a guitar pick.
Files and instructions →
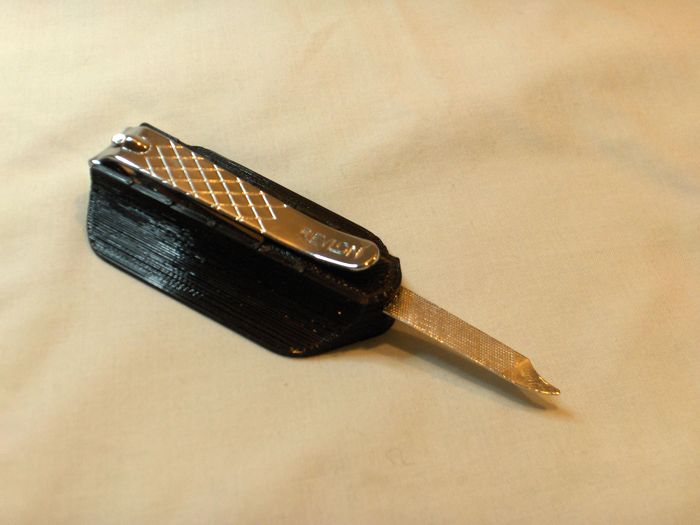
Kickstand Nail Clipper Brace
Kickstand Nail Clipper Brace Beginner-friendly
One-handed nail clipping.
Files and instructions →
Helix Cuff
Helix Cuff Beginner-friendly
Universal cuff for holding utensils and tools.
Files and instructions →
Aesthetic Passive Hand
Aesthetic Passive Hand Intermediate
Non-mechanical hand for everyday social use.
Files and instructions →

Volunteer notes come from hands-on reviews by e-NABLE volunteers. Made one of these? Share your feedback about a design.